How to refund an item
This guide walks you through how to issue a refund. It covers locating an order, selecting items to refund, applying optional fees, choosing refund destinations, and sending confirmation emails.
If you need to adjust the price of an item via an up or down exchange (rather than refunding), please refer to our Exchange Tickets helpdoc.
When to Refund vs. Exchange
Use refunds when the customer is not attending the event and needs money returned.
Use exchanges if the customer is still attending, but the order needs adjusting.
Steps to Issue a Refund
1. Click the ORDERS icon on the top of the screen.

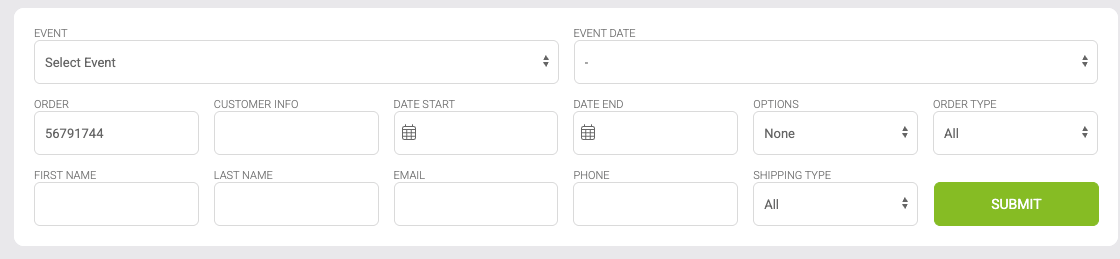
2. Locate the Order
Search by order number, customer name, or email
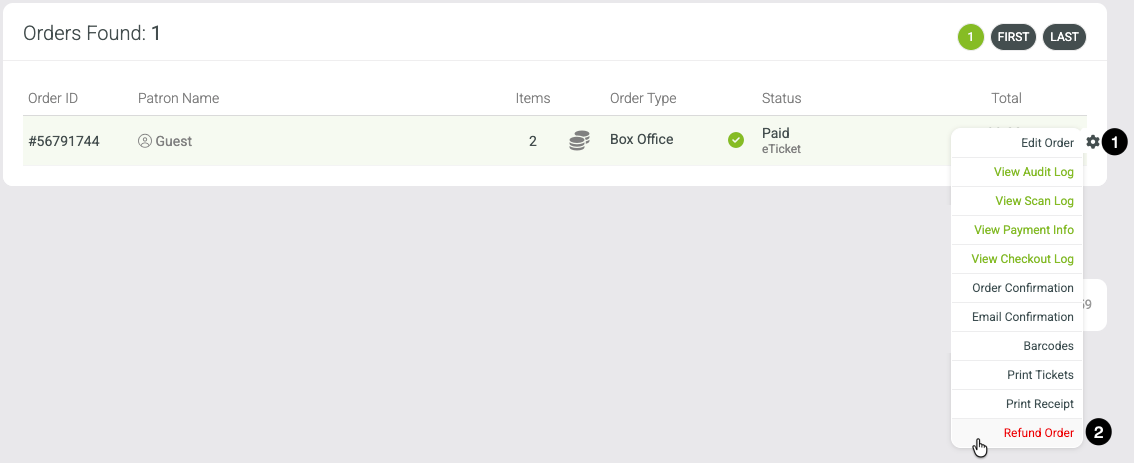
Once the order appears, click the gear icon on the right and select Refund Order.
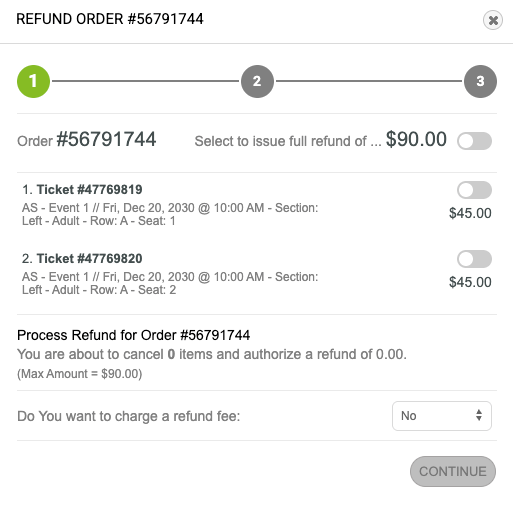
3. Select Items to Refund
To issue a full refund, click the top checkbox to select all items.
To partially refund, select individual items as needed.
4. (Optional) Apply a Refund Fee
Select Yes when asked "Do you want to charge a refund fee. This fee will be deducted from the total refunded to the customer.
5. Click Continue
6. Choose Where to Refund To
Select where the refund should go.
Usually this is the original payment method (such as credit card or cash).
Other options may appear depending on the order.
7. (Optional) Add Notes and Confirmation Email
You may choose to send the customer refund confirmation email or updated order confirmation.
You can also add an internal note about the "reason for refund" area.
8. Finalize the Refund
Review everything and click the Refund button to complete the process.
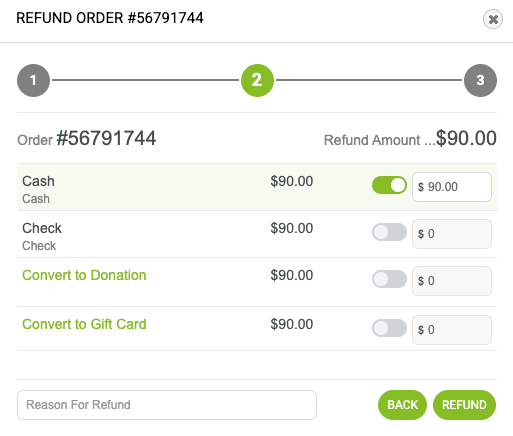
Once you click Refund, the transaction is completed.
Additional Info:
Sending a Refund Confirmation Email after an order is processed (Optional)
After the refund is complete:
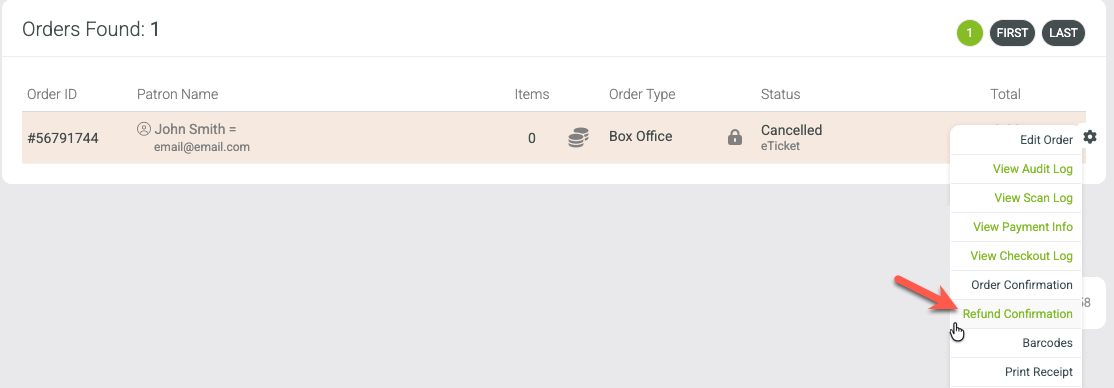
Find the refunded order.
Click the gear icon next to the order.
Click Refund Confirmation.
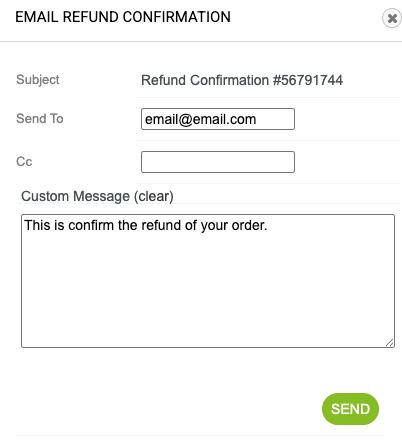
A message editor will appear where you can:
Edit the message body.
Add or update email addresses. The customer’s email address will be pre-filled.
Click Send when you're ready.
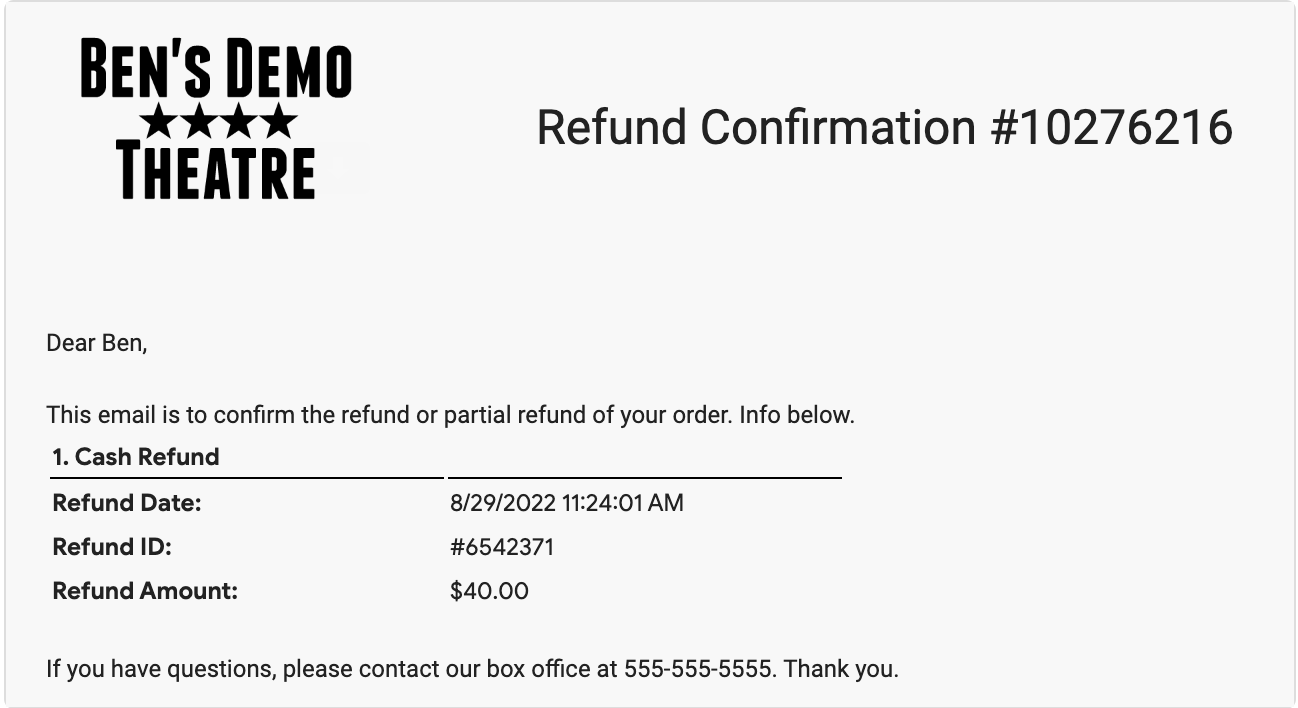
Example Refund Confirmation Email
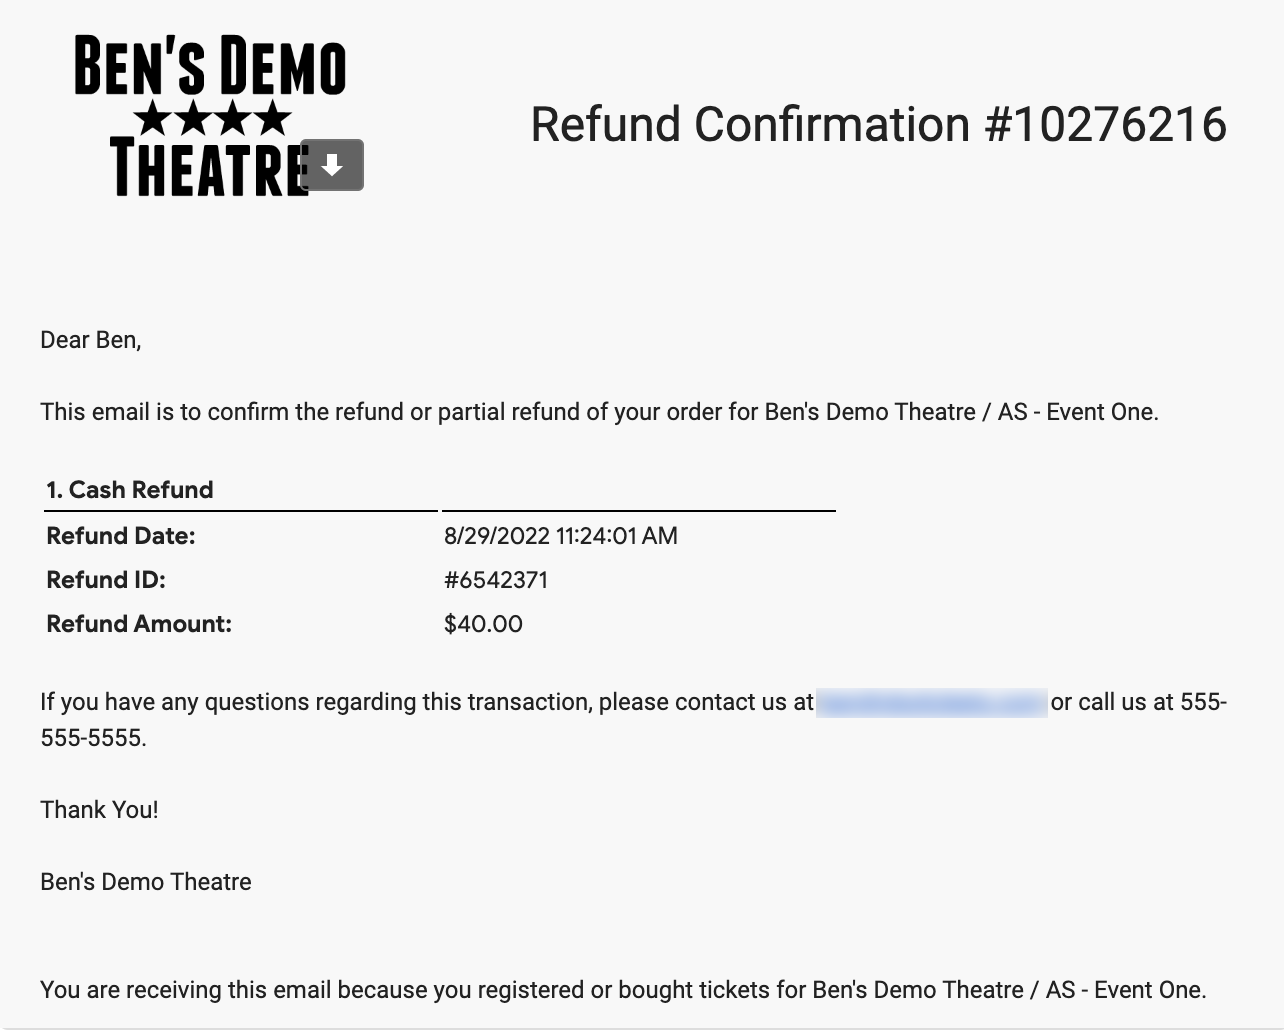
By default, the email includes basic refund details.
You can customize this message in the event settings.
To customize refund message:
Go to Events > Event Settings > Event Settings
Click on Confirmation Text box.
In the slide out menu, scroll to the Refund Message section
Enter your custom message and press SAVE or SAVE & CLOSE.
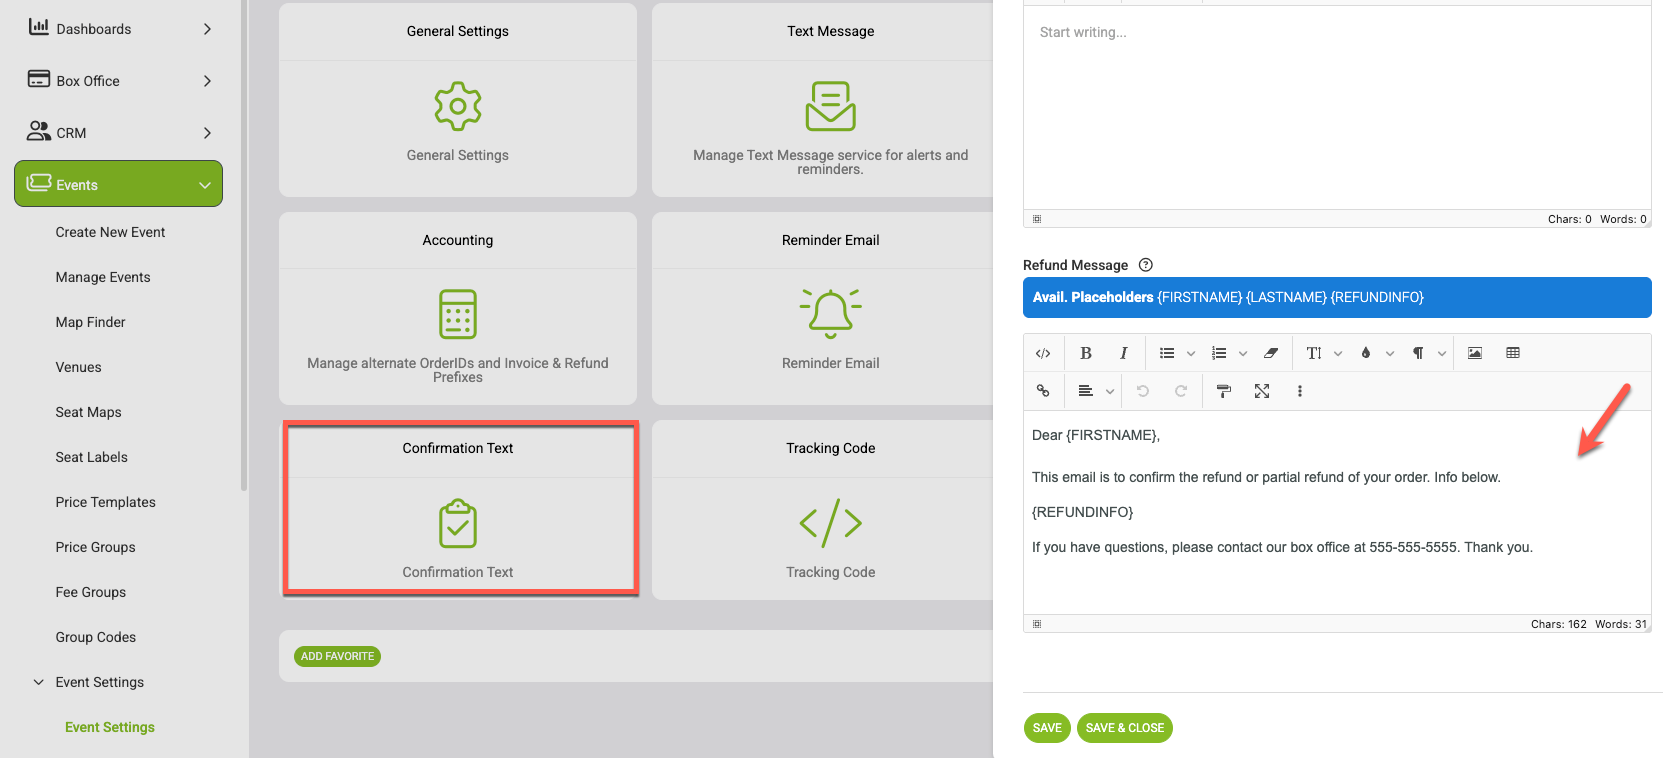
Example Custom Refund Message Override: